
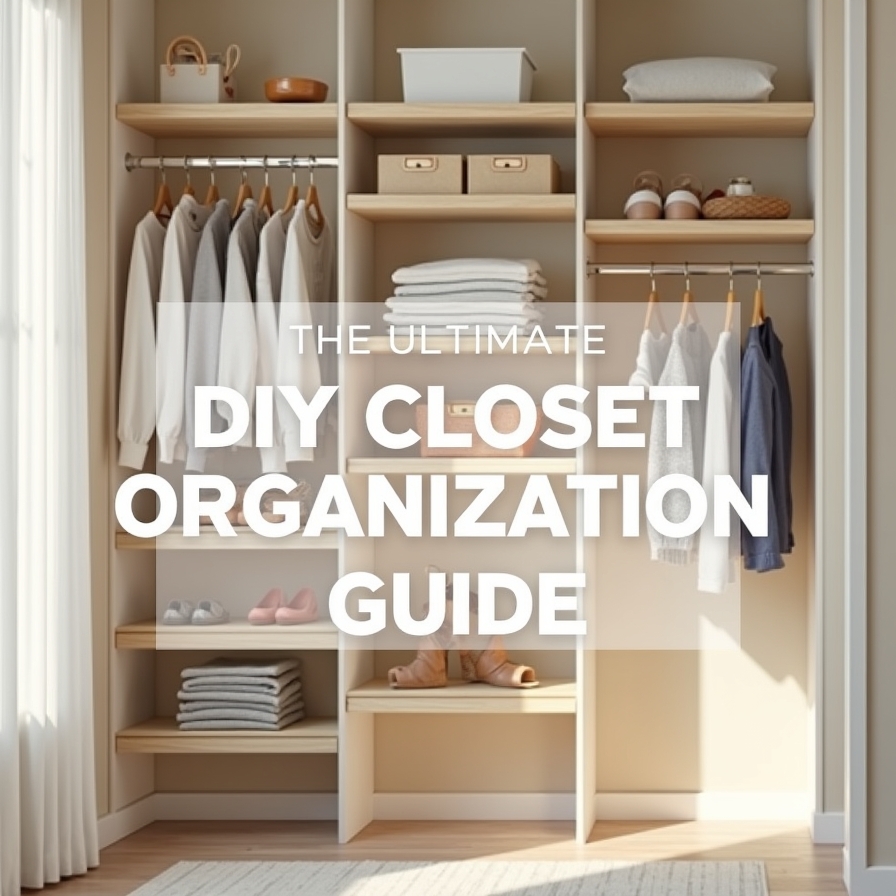
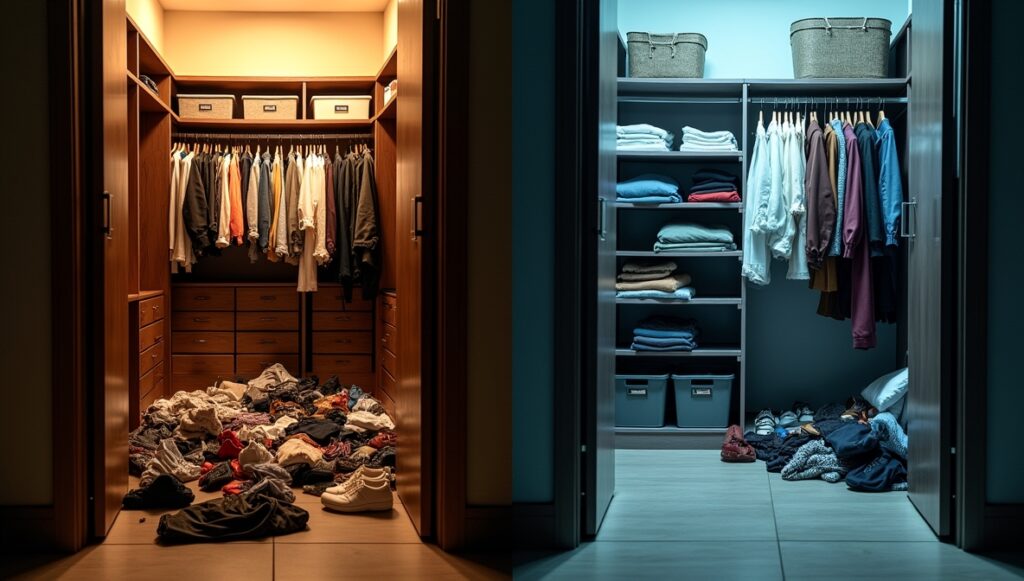
Do you open your closet every morning only to feel overwhelmed by the mess? Clothes are crammed together, shoes are scattered, and finding that one shirt feels impossible. A disorganized closet wastes time, creates stress, and can even damage your clothes.
The good news? You don’t need expensive systems to fix it! With DIY closet organization ideas, you can:
✔ Save money by using affordable (or free!) materials.
✔ Customize storage to fit your exact needs.
✔ Maximize space so everything has a home.
✔ Reduce daily frustration with a clutter-free system.
This step-by-step guide will walk you through assessing your closet, choosing the best storage solutions, and maintaining organization long-term. Let’s get started!
Step 1: Assess Your Closet & Declutter
Before organizing, you must declutter. A clean slate makes organizing easier!
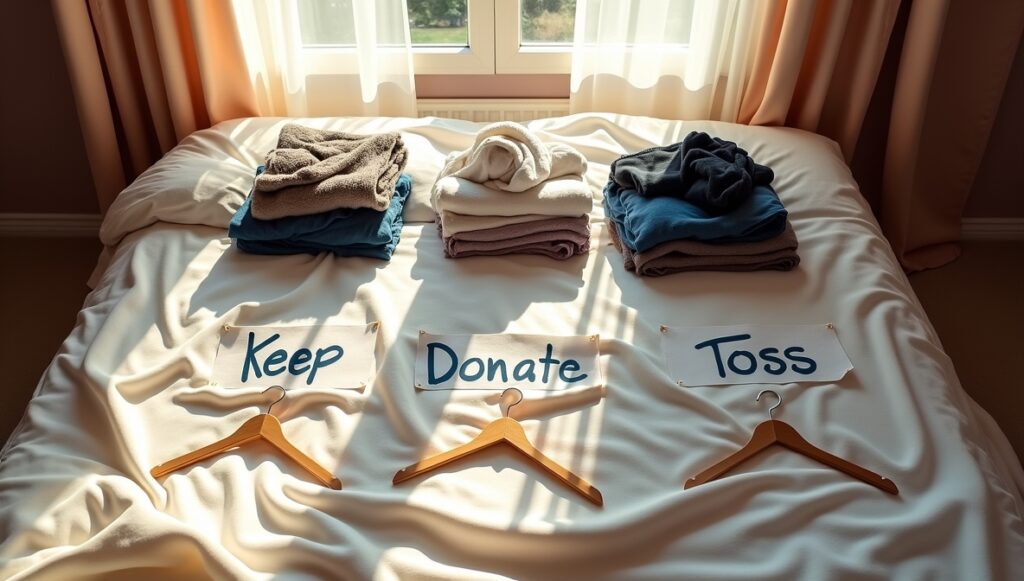
A. The Closet Audit: What to Keep, Donate, or Toss
- Empty Everything
- Take all items out of your closet.
- Sort into 3 piles:
- Keep (frequently worn, fits well, in good condition).
- Donate/Sell (gently used but no longer needed).
- Toss (stained, torn, or worn-out items).
- Ask Key Questions
- Have I worn this in the last 6-12 months?
- Does it fit well and make me feel good?
- If I saw this in a store today, would I buy it again?
- Seasonal Storage
- Store off-season clothes in vacuum-sealed bags or labeled bins.
B. Measure & Analyze Your Closet Space
- Take Measurements
- Width, height, and depth of shelves, rods, and floor space.
- Note awkward spaces (corners, gaps above shelves).
- Identify Problem Areas
- Shoes piling up?
- Accessories tangled?
- Not enough hanging space?
- Set a Budget
- DIY projects can be under $20 if you repurpose items!
Step 2: DIY Closet Organization Solutions
Now, let’s dive into budget-friendly, space-saving ideas for every closet type!
A. Maximize Vertical Space
Most closets waste upper and lower space. Fix it with:
1. DIY Adjustable Shelving
- Materials: Wooden planks, shelf pins, brackets.
- How-To:
- Measure closet width.
- Cut wood to size (or use pre-cut shelves).
- Install shelf pins at different heights for flexibility.
2. Hanging Fabric Shelves
- Materials: Old belts, fabric, or canvas.
- How-To:
- Cut fabric into rectangles.
- Sew or glue sides to create pockets.
- Hang from a rod for extra storage.
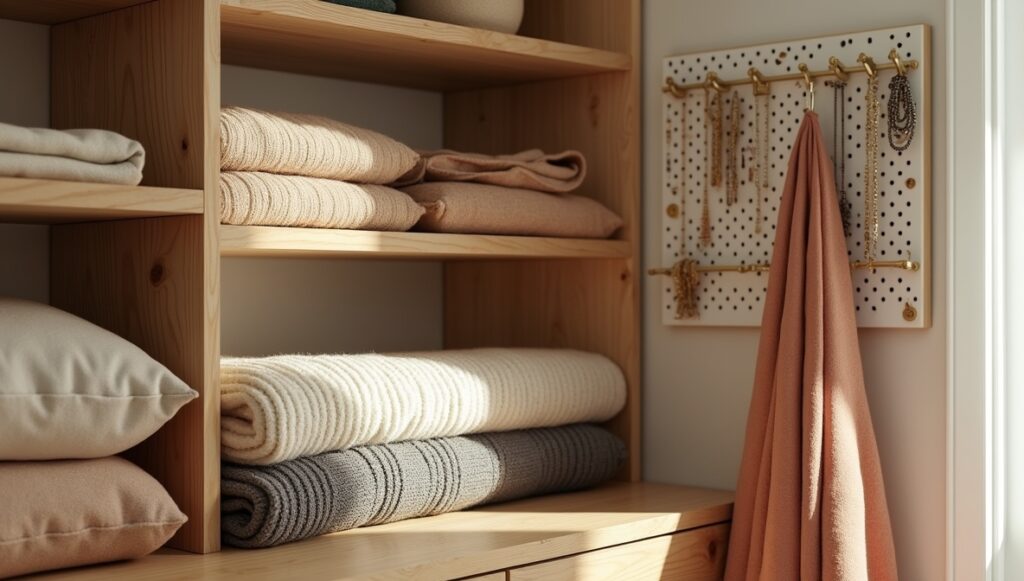
3. Pegboard Wall Organizer
- Materials: Pegboard, hooks, baskets.
- How-To:
- Mount pegboard on the wall.
- Add hooks for scarves, hats, and jewelry.
B. Smart Door Storage Hacks
The back of the door is prime real estate for storage!
1. Over-the-Door Shoe Organizer
- Option 1: Hang a pocket-style organizer.
- Option 2: Install tension rods to hold shoes horizontally.
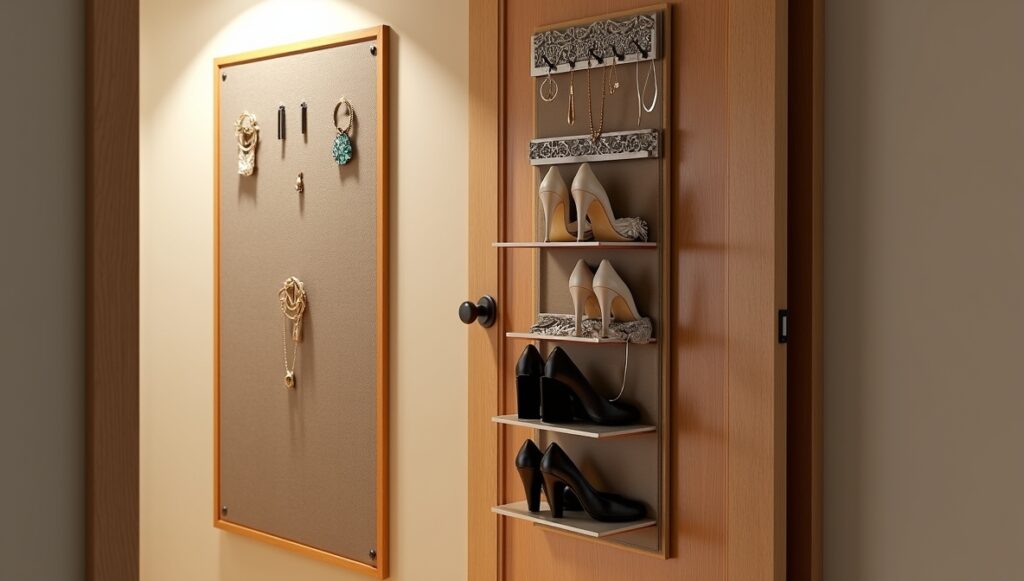
2. DIY Jewelry Organizer
- Materials: Old picture frame, wire mesh, hooks.
- How-To:
- Remove glass from frame.
- Stretch wire mesh across the back.
- Hang earrings and necklaces.
3. Hanging Baskets for Small Items
- Materials: Small baskets, S-hooks.
- How-To: Hang baskets for socks, belts, or hair accessories.
C. Modular & Customizable Storage
Flexible storage adapts as your needs change.
1. DIY Fabric Bins
- Materials: Cardboard boxes, fabric, glue.
- How-To:
- Wrap fabric around a box.
- Secure with glue or staples.
- Label for easy sorting.
2. Stackable Wooden Crates
- Materials: Old crates, paint (optional).
- How-To:
- Sand and paint crates if desired.
- Stack sideways or vertically for shelves.
3. Drawer Dividers
- Materials: Cardboard, foam board, or old shoeboxes.
- How-To: Cut to size to separate socks, underwear, and accessories.
D. Shoe Storage Solutions
Keep shoes visible and accessible without clutter.
1. PVC Pipe Shoe Rack
- Materials: PVC pipes (4-inch diameter), saw, glue.
- How-To:
- Cut pipes into 6-inch sections.
- Glue together in a staggered stack.
2. Wine Box Shoe Shelves
- Materials: Wooden wine boxes.
- How-To: Sand and stack boxes sideways for a rustic look.
3. Hanging Shoe Organizer
- Materials: Cloth organizer or DIY fabric pockets.
- How-To: Hang on the back of the door or wall.
E. Accessory & Jewelry Storage
Prevent tangles and lost items with these hacks.
1. Scarf & Belt Hanger
- Materials: Shower curtain rings, hanger.
- How-To: Clip rings onto a hanger and loop belts/scarves through.
2. Purse & Hat Storage
- Materials: Small floating shelves.
- How-To: Install narrow shelves to display bags and hats neatly.
F. Seasonal Storage Tips
Keep off-season clothes out of the way but accessible.
1. Vacuum-Sealed Bags
- How-To: Pack bulky sweaters and coats, then vacuum out air.
2. Labeled Storage Bins
- How-To: Use clear bins and label by season.
Step 3: Step-by-Step DIY Tutorials
Project 1: DIY Fabric Storage Bins
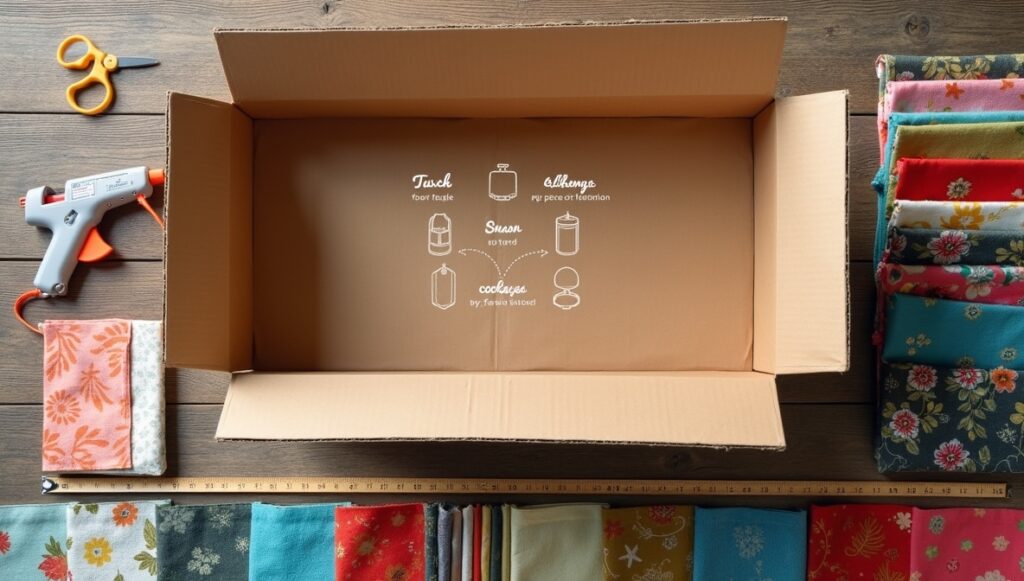
Materials Needed:
- Cardboard boxes
- Fabric (old clothes or curtains work!)
- Glue gun or fabric glue
- Scissors
- Ruler
Instructions:
- Measure & Cut Cardboard – Decide on bin size (e.g., 12″x12″).
- Wrap with Fabric – Glue fabric around the box, folding edges inside neatly.
- Reinforce Corners – Add extra glue for durability.
- Label Bins – Use chalkboard labels or sticky notes.
Tip: Use different fabrics for a stylish look!
Project 2: PVC Pipe Shoe Rack
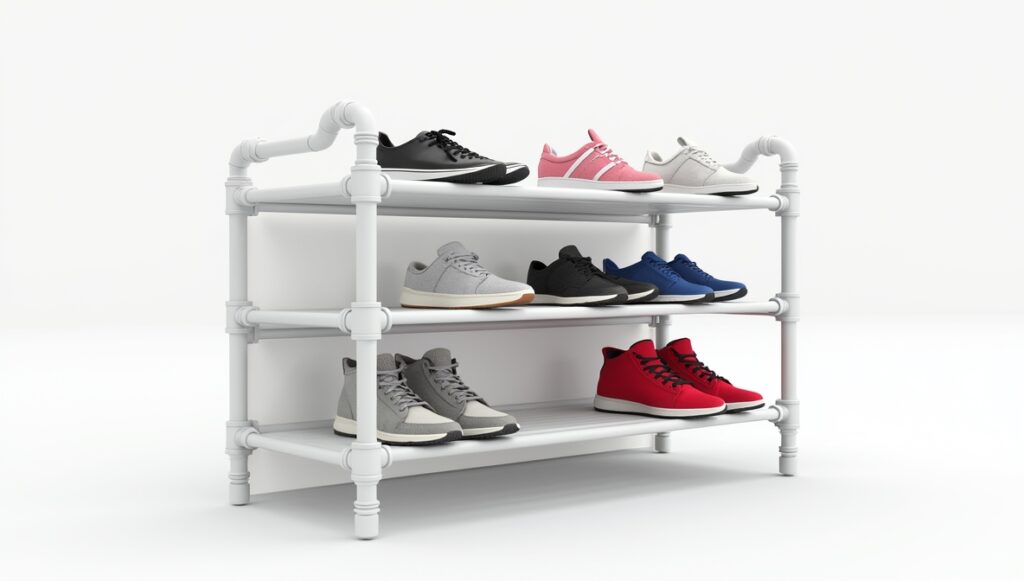
Materials Needed:
- 4-inch PVC pipes
- Saw (ask an adult for help!)
- Strong glue or screws
- Sandpaper (optional)
Instructions:
- Cut Pipes – Measure and cut into 6-inch sections.
- Sand Edges – Smooth rough edges.
- Glue Together – Stack in a zigzag pattern for stability.
- Let Dry – Wait 24 hours before use.
Bonus: Spray paint for a colorful finish!
Step 4: Maintaining an Organized Closet
An organized closet stays neat with simple habits.
✔ Weekly Quick Tidy – Spend 5 minutes straightening up.
✔ Monthly Declutter – Remove items you no longer wear.
✔ “One In, One Out” Rule – Donate an old item when buying something new.
✔ Reassess Every 6 Months – Adjust storage as needed.
Final Thoughts: Start Small & Stay Consistent
You don’t need a fancy system—just smart, DIY solutions that work for you. Start with one project (like fabric bins or a shoe rack) and build from there.
Which idea will you try first? Share your before-and-after pics in the comments!
Happy organizing! 🚀